Tuesday, May 24, 2011

Popover Sundress


I absolutely adore Oliver + S! Their blog, which you can find here, has amazing free patterns and fantastic sewing tutorials. They also sell patterns and have a line of fabric. And, they have a new book "Little Things to Sew," which I cannot wait to read.

I made these sundresses with the Popover Sundress pattern--it was free on the Oliver + S blog--just look at the right hand side of the blog. These dresses were pretty easy to make and came together so beautifully. I can't wait to try more of their patterns. I made the dresses a little big so that the girls can wear them next year, too. The pattern for the doll dress was free, too, so I made matching dresses for our favorite dolls.


Wednesday, May 11, 2011

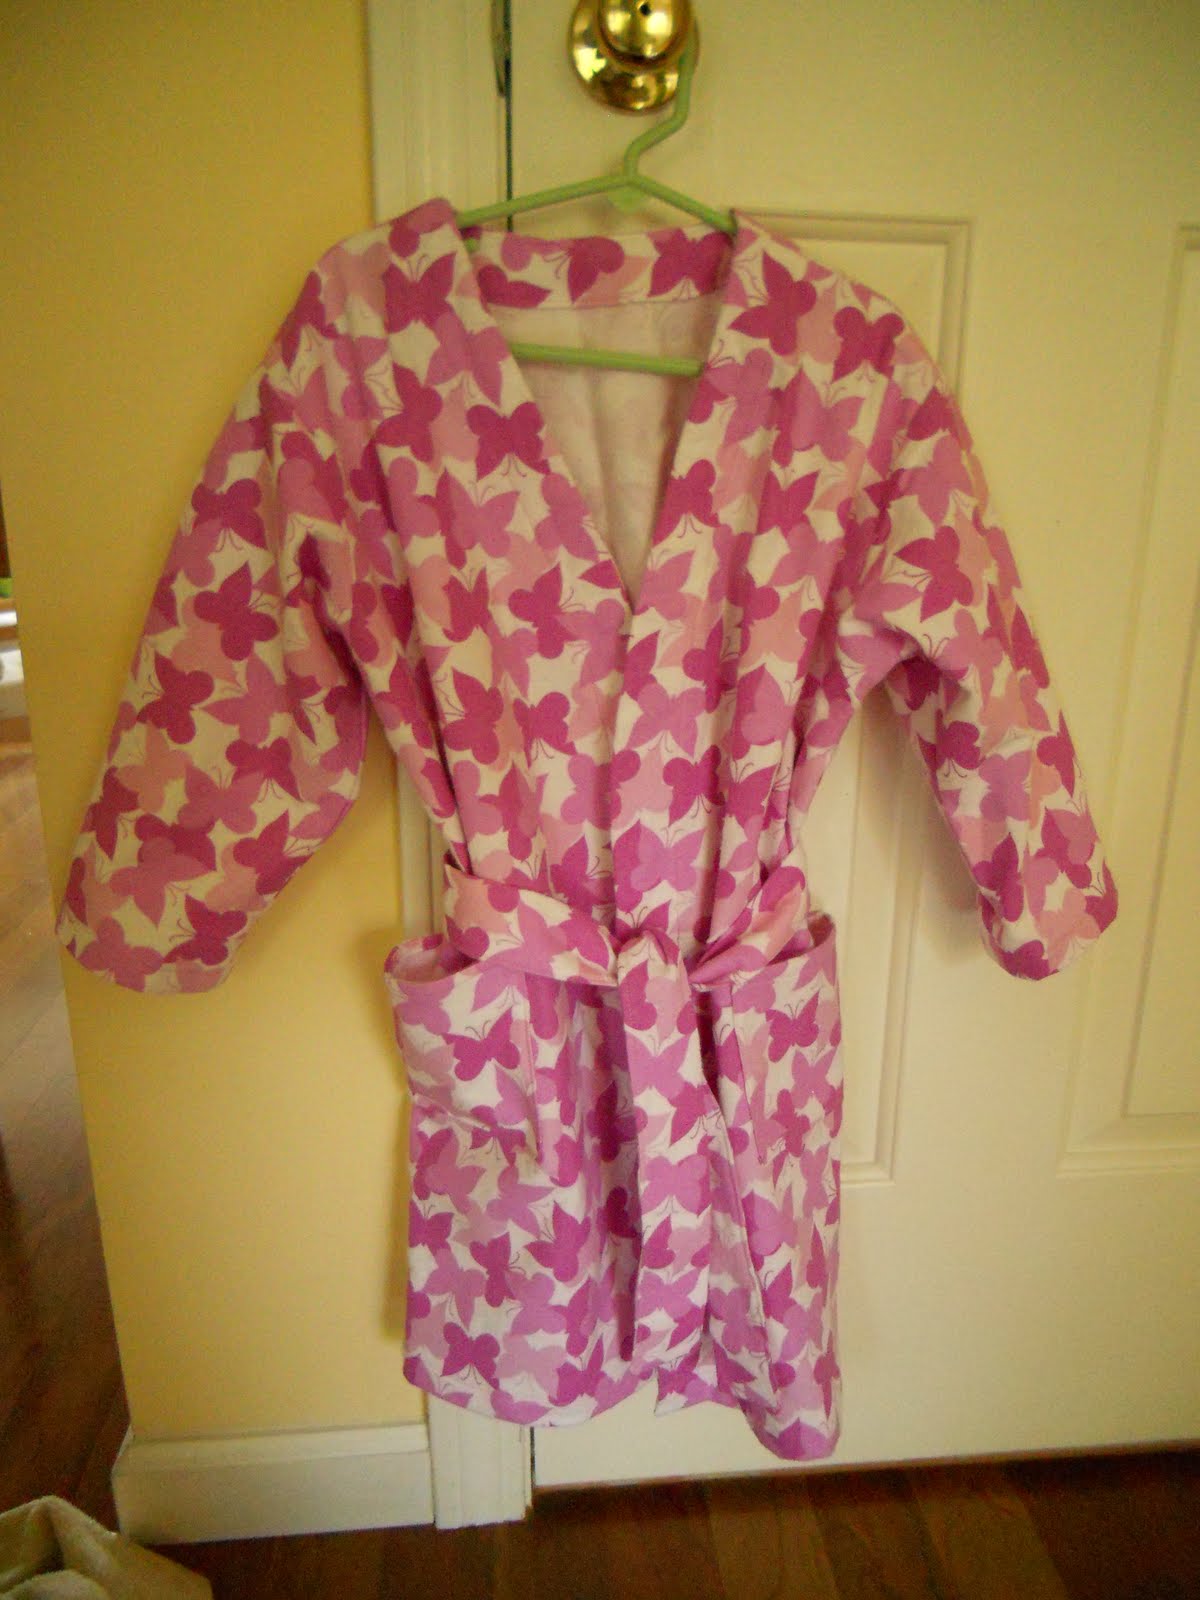
Robes


Ellie had been asking me for a bathrobe for a long time. I couldn't find one at the children's consignment shop or even at Target, so I decided to make robes for both Ellie and Robin. I took the girls to Joann and let them each pick out their own fabric. Ellie picked flannel with purple butterflies, and Robin picked pink flannel with sparkly stars. I used Simplicity pattern 2826, which, thankfully, was on sale for $1.99. I had to buy two patterns--one for each size. I haven't sewn clothing in a long time. The hardest parts were pinning the sleeves to the armholes and turning the belt. Otherwise, not too hard, and the whole process didn't take very long.


Tuesday, May 10, 2011

Thrift Shop Finds


I've scaled back on my thrift shopping these days. One because I don't need anything (we are trying to be minimal) and two, because we're on a tight budget. However, I did have a couple of affordable finds on a recent trip to Goodwill with my friend Marian. I got this atomic coffee pot (I don't drink coffee, so it's decorative) for $3 and this red vintage fabric for $2.There were at least four yards of fabric! Some of it has been transformed, and I'll share the project with you in an upcoming post.

Sunday, May 1, 2011

Fairy Dolls


I am always inspired by Joel Henriques' blog Made by Joel. You can find the post for his wonderful clothespin fairy dolls here. Ellie, Robin, and I had a lot of fun making these. The girls picked out the fabric and hair, etc., and I manned the hot glue gun. They came out so cute and didn't take long to make. It's hard to see in my photo, but some of the dolls have wings made from clear plastic. I cut out the wings from containers in our recycle bin. I'm hoping we can make a forest for the fairies to play in next.


Thursday, April 28, 2011

Easter Bunny Stuff

Here are a few things that I made for the girls for Easter. Below are little sleeping bag and pillow sets made from scraps of cotton fabric and fleece. The pillows are trimmed with rickrack. These sleeping bags are the perfect size for little dolls and stuffed animals.


And, I made the girls a set of bean bags to toss. The inspiration for these came from the Chez Beeper Bebe blog. You can find the bean bag post here. I love this blog--Holly always inspires me. I didn't have the gumption to applique letters or numbers on these, so I just kept it simple and decorated them with some vintage rickrack. I hope to learn how to applique in the near future. By the way, I did make ten of these bean bags, but one was AWOL when I was taking pictures! I filled them with dried black-eyed peas.

Wednesday, April 27, 2011

Simple Easter Craft for Kids

Here is a little craft for Easter that I did with Ellie and Robin today. I was inspired by these Egg Chickens from Martha Stewart, but since we don't eat too many eggs 'round these parts (trying to cut out intake of animal products), I thought we could make some out of paper. I found the egg templates here.
This craft made me happy, too, because we don't color eggs, and I was looking for an alternative project!
Materials:
Card stock
Paper scraps in various colors
Pencil
Scissors
Hole punch
Glue
Instructions: 1. Print out the egg templates from the link above. Cut out the egg shapes. You can transfer the templates onto cardboard to make them sturdy and reusable. (Old file folders work well for this, too.)
2. Trace your template onto cardstock and cut out your egg shapes in various colors and sizes.
3. From paper scraps: cut out orange or yellow triangle shapes for the beaks; punch out black dots with your holepunch for the eyes; and cut out feet and a comb from red paper. (I happen to have a star-shaped punch, so I used it to make the comb and the feet--similar or improvised shapes work fine.) For a decorative chick, cut out a strip of paper to make a stripe for across its body.
4. Glue on the beak, eyes, comb, feet, and stripe.
5. Voila! You are done. You can attach string to the back if you'd like to hang them, or punch holes in them and string them on a garland. They make great gift tags, too.
Happy Easter!

Wednesday, April 6, 2011

Patchwork, Oz and More


Sorry I've been away for so long. We were in Australia for two weeks, and we had a wonderful time visiting family. Prior to that, I was working like mad trying to meet a number of deadlines. Things are settling down now...


I made this patchwork pouch for a friend in Ohio. Once again, it was inspired by Amy Karol's Artsy Clutch from Bend the Rules Sewing. (Sorry, I know I've mentioned it so many times already, but I love it.)


And, my daughters are really into worms right now. They talk about worms all the time. So, I made them some homemade worms. I like them so much that I'm hoping they'll be an item in my someday Etsy shop. They're very simple to make and fun, too. I've got some patchwork worms in mind for my next batch, so stay tuned!